Let’s Get Started
How to Create Living Structures
PLANNING A LIVING WILLOW STRUCTURE
Planning a living willow structure is a personal and creative process, and every project will be a little different. The guidelines below are based on my own experience planting over 140’ of living willow fences and structures and are intended to help you get started.
PLANNING THE NUMBER OF RODS YOU’LL NEED
To help estimate the quantity of rods for your project, I’ll use three living willow structures from my own garden as examples.
EXAMPLE 1:
A 100-FOOT LIVING WILLOW FENCE
The first example is a 100-foot fence, divided into two 50-foot sections.

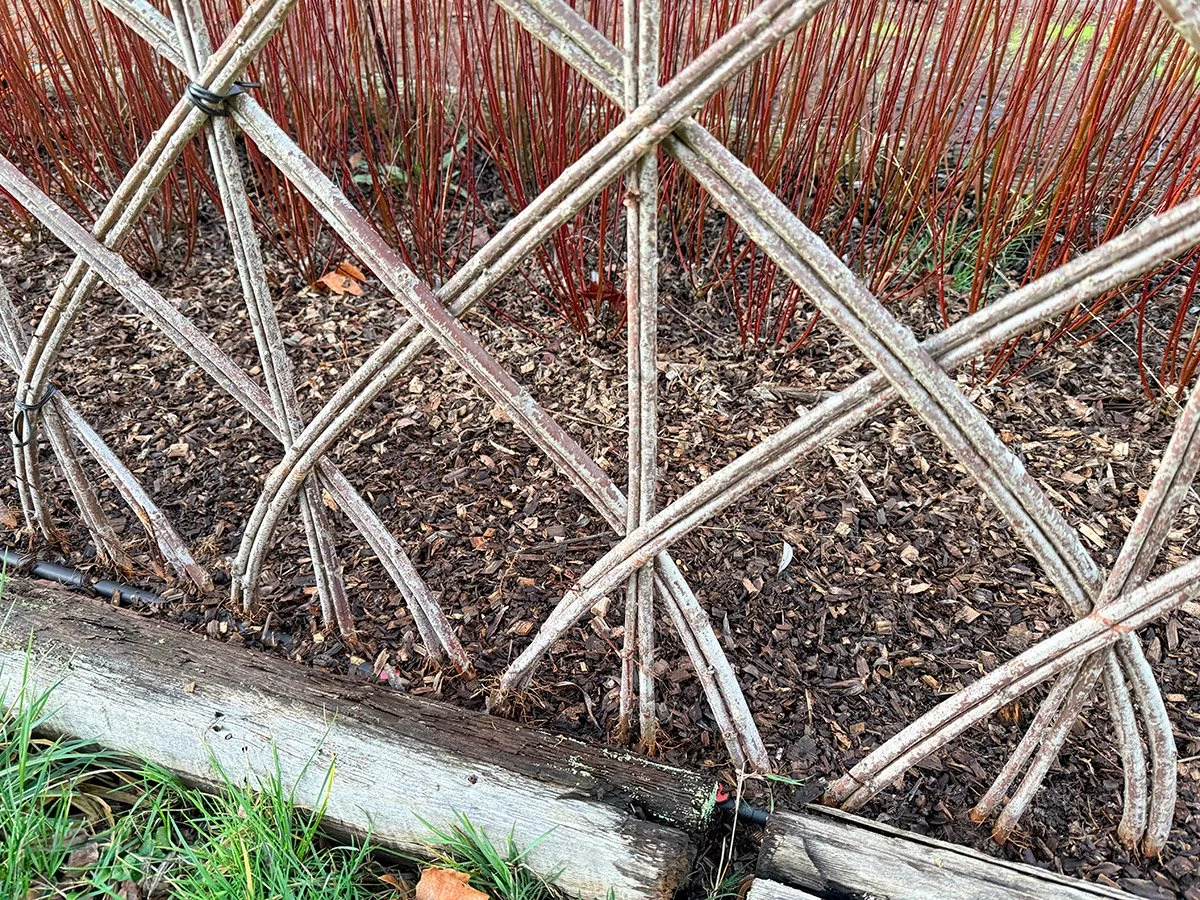
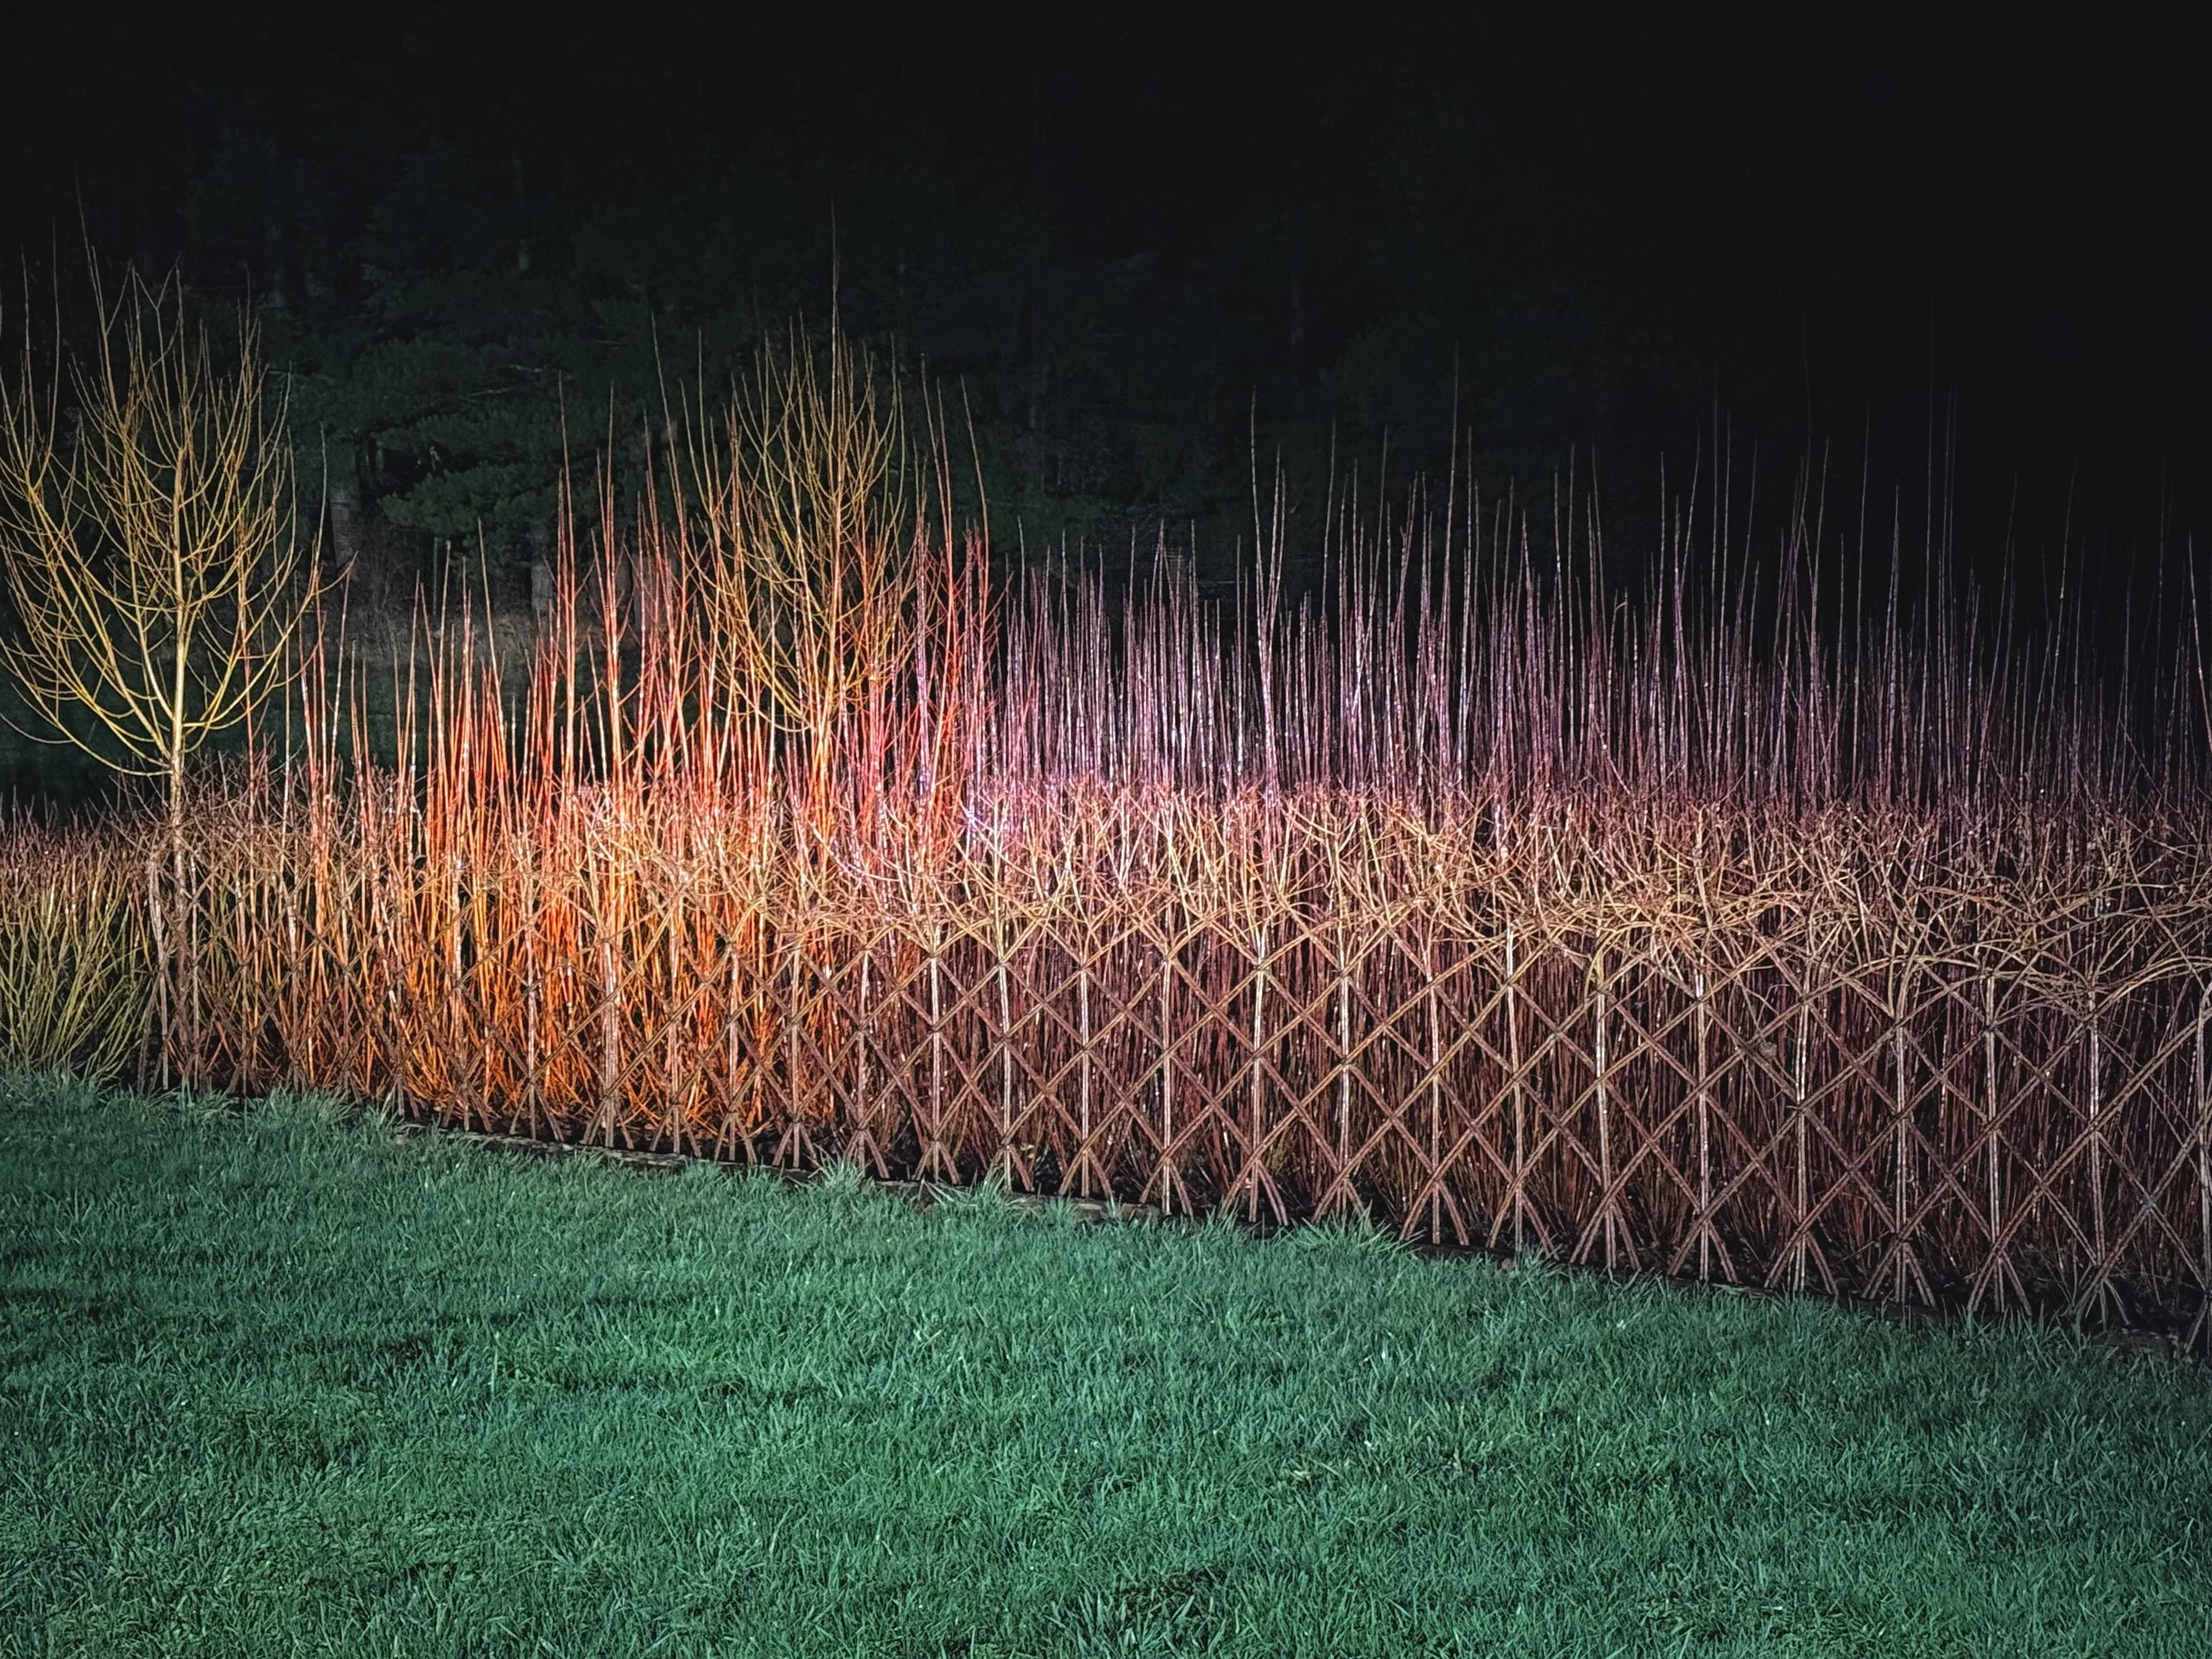
For this weave, I planted 6 rods every 10 inches
I also planted extra rods at each end of the fence. These provide additional strength and create a more substantial, finished end.
For each 10 feet of fence, plant 72 rods per 10 feet
PLUS approximately 8 additional rods for finishing the ends
These numbers are a starting point rather than an exact formula.
The number of rods you need will depend on the pattern you choose, your preferred spacing, and how dense you want your structure to develop. As the rods mature, they will graft together. And as diameters thicken, the weave will close.
EXAMPLE 2: TWO CURVED LIVING WILLOW FENCES
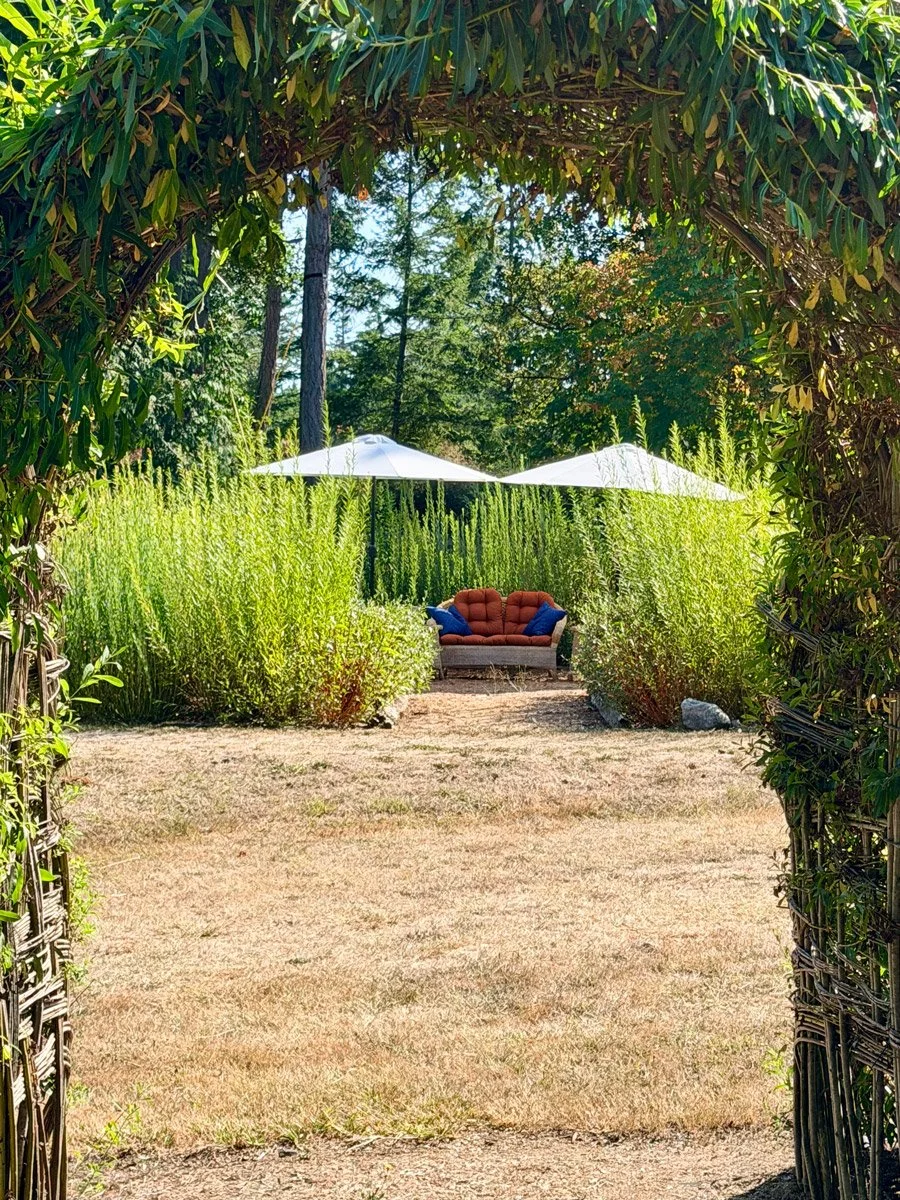
The second example consists of two 12-foot-wide curved fence sections that I planted to flank east and west of a sitting area, within our willow garden.
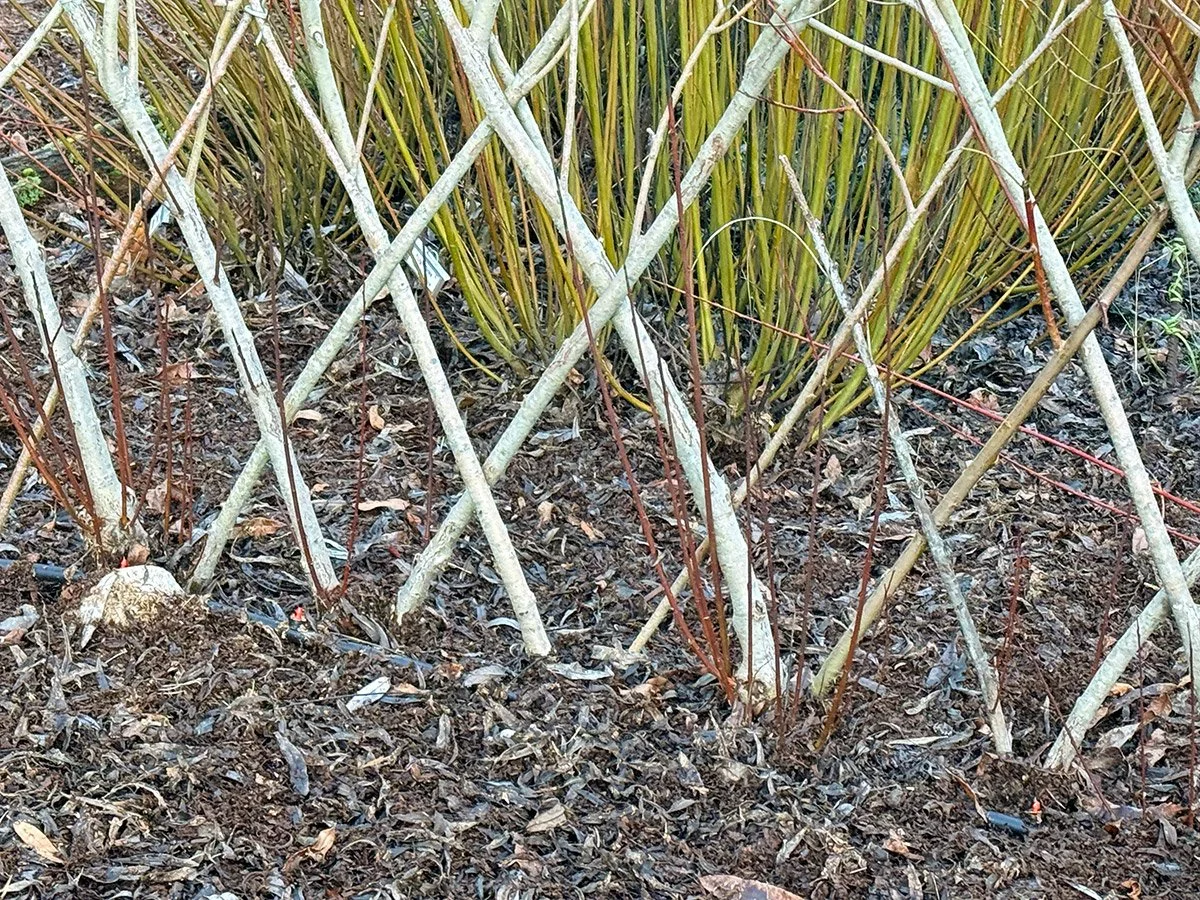
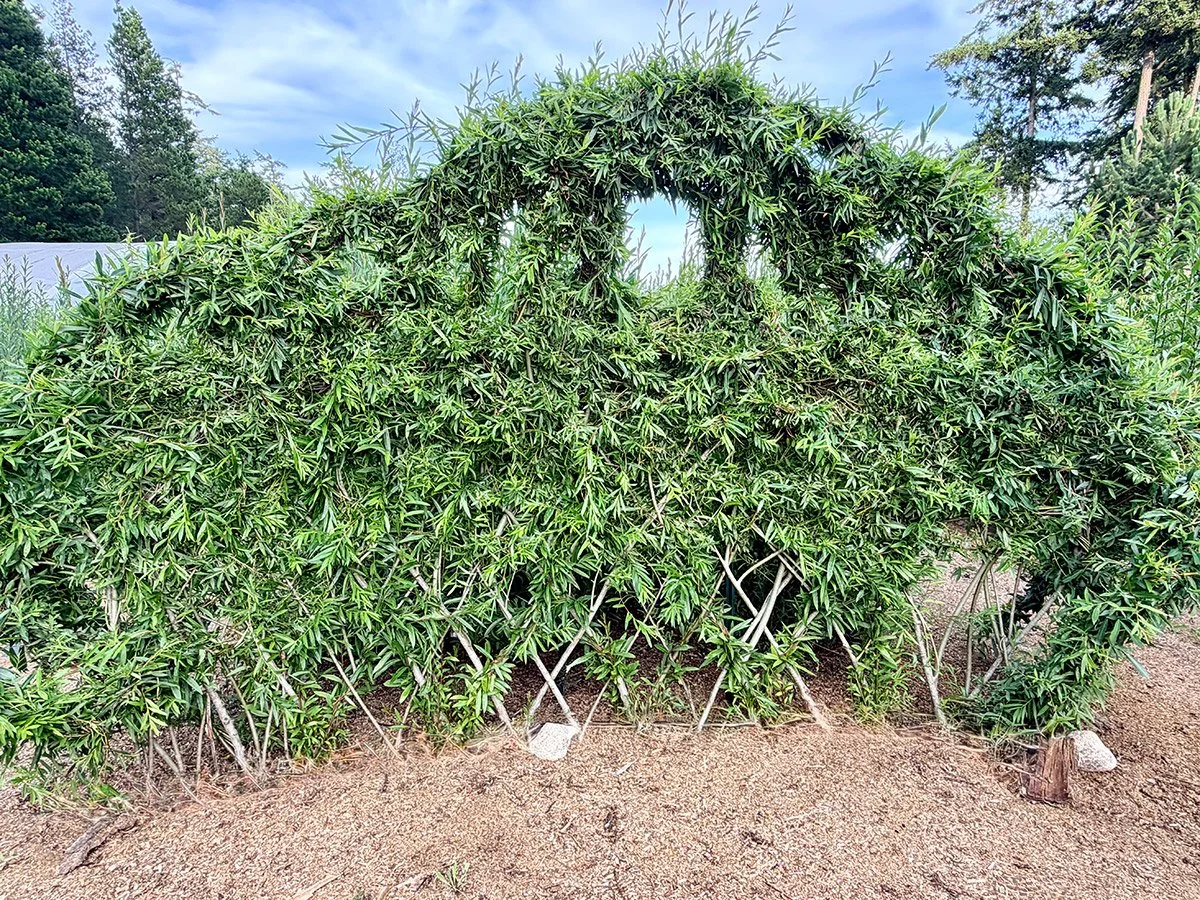
For this style of weave, I planted 4 rods every 10 inches. As with the first example, I recommend adding extra rods at each end to create a stronger and more finished appearance.
For each 10 feet of fence, plan on approximately:
48 rods per 10 feet
PLUS approximately 8 additional rods for finishing the ends
For a 12-foot curved section, this works out to approximately 58 rods, plus additional rods if you would like to build up the ends.
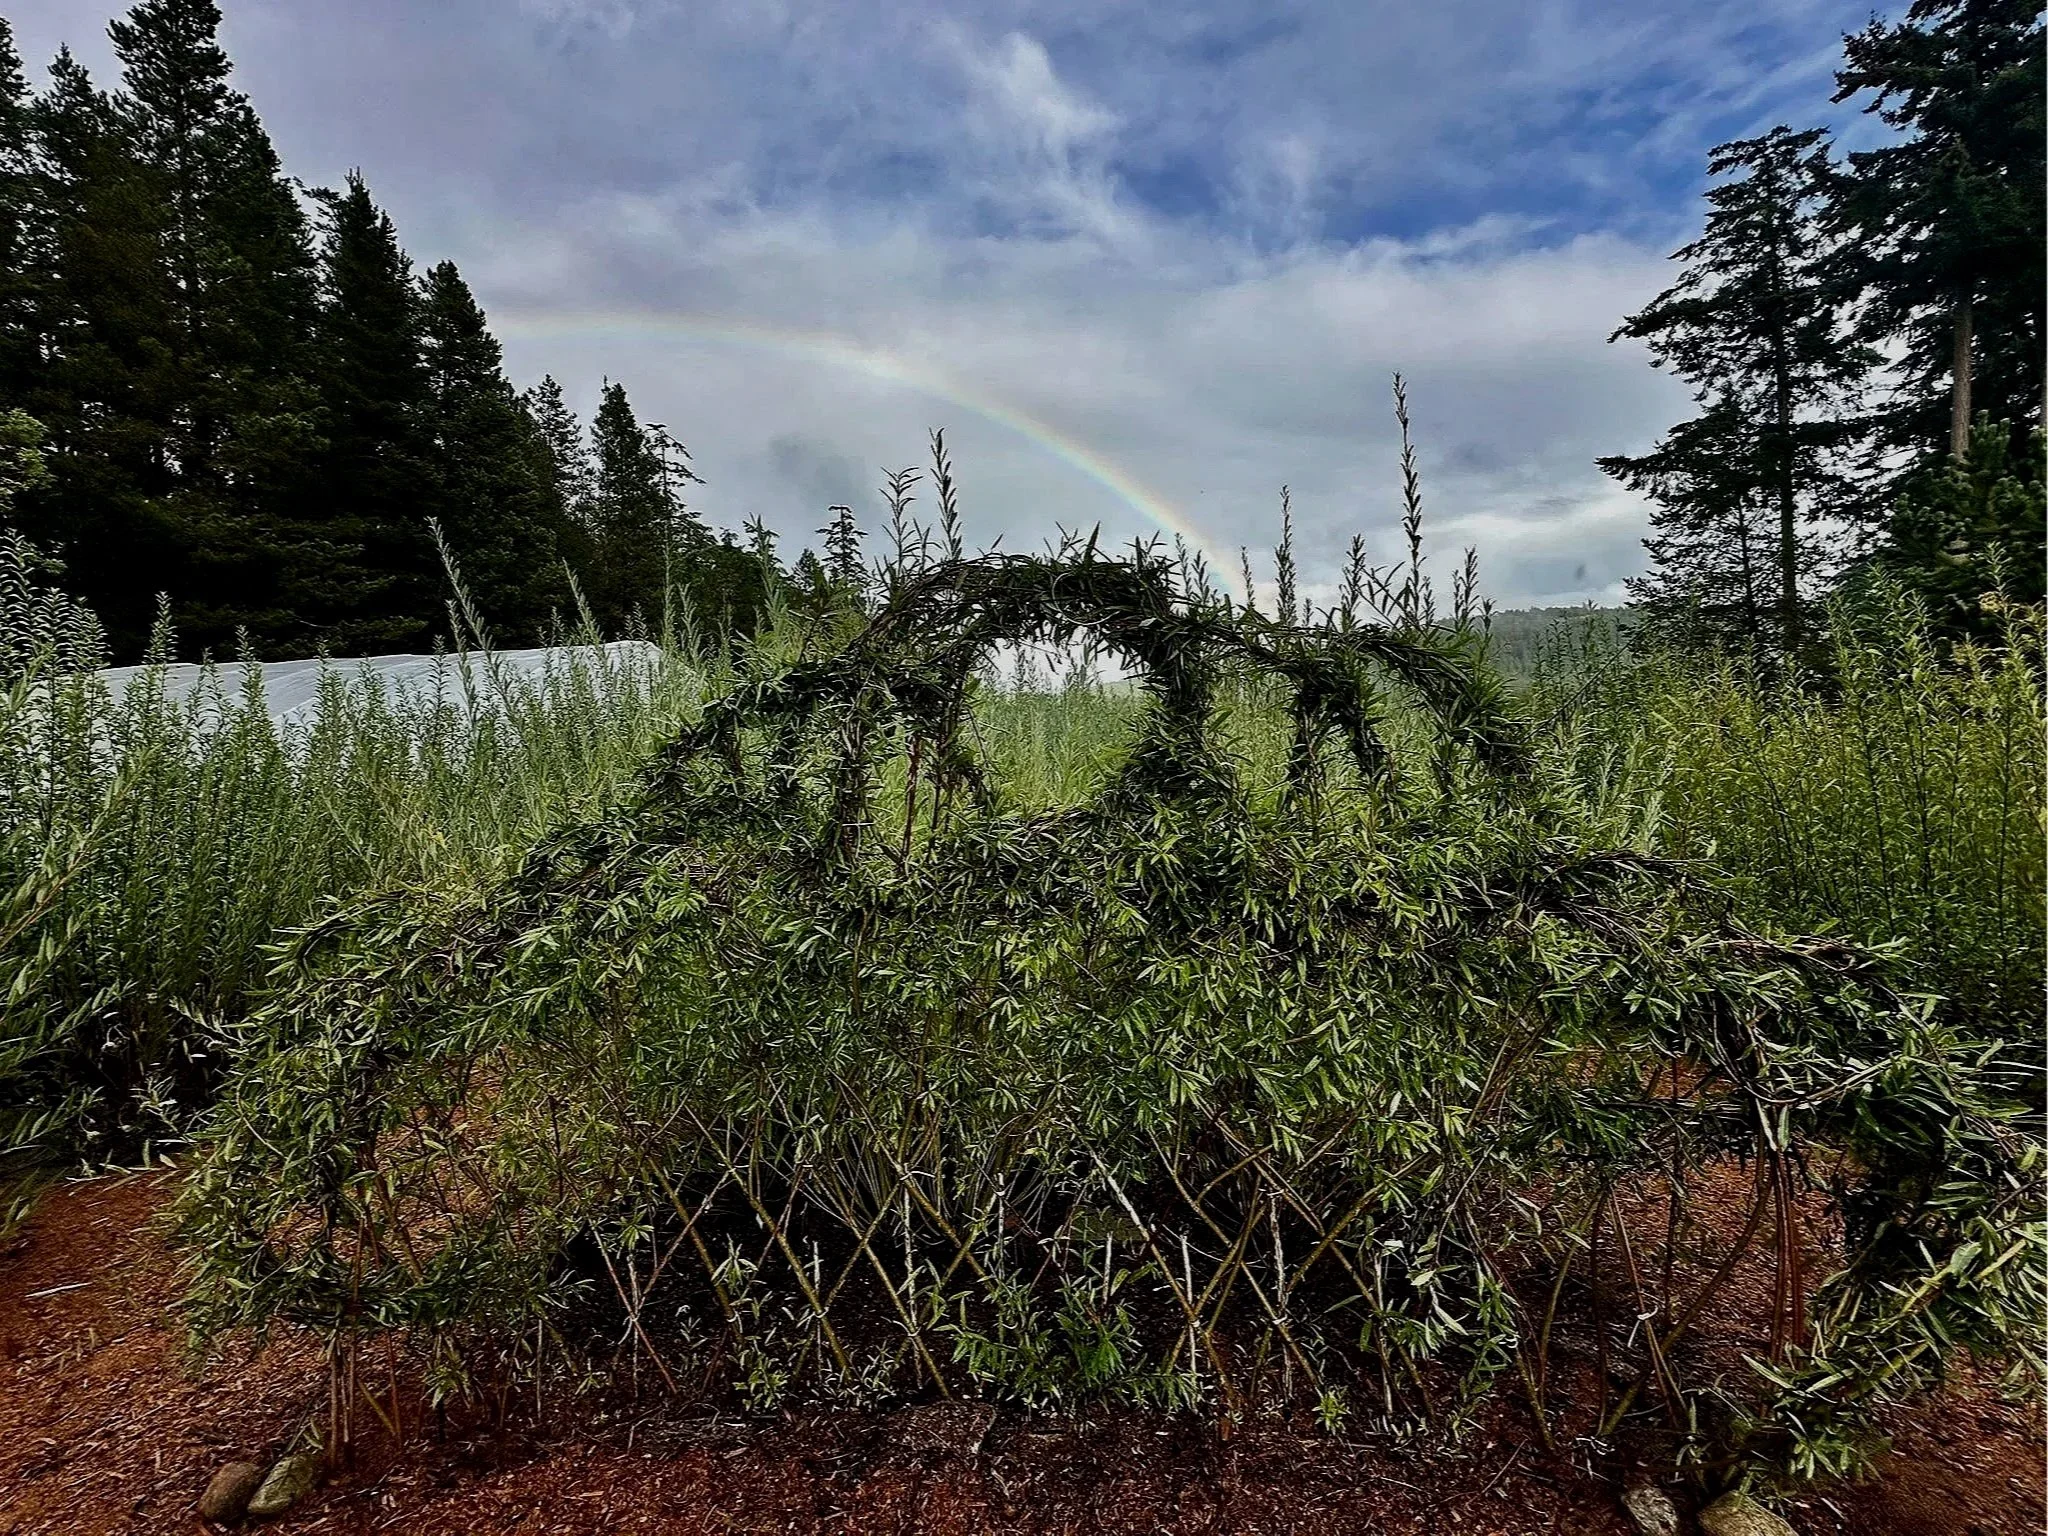
EXAMPLE 3: A LIVING WILLOW ARCHWAY
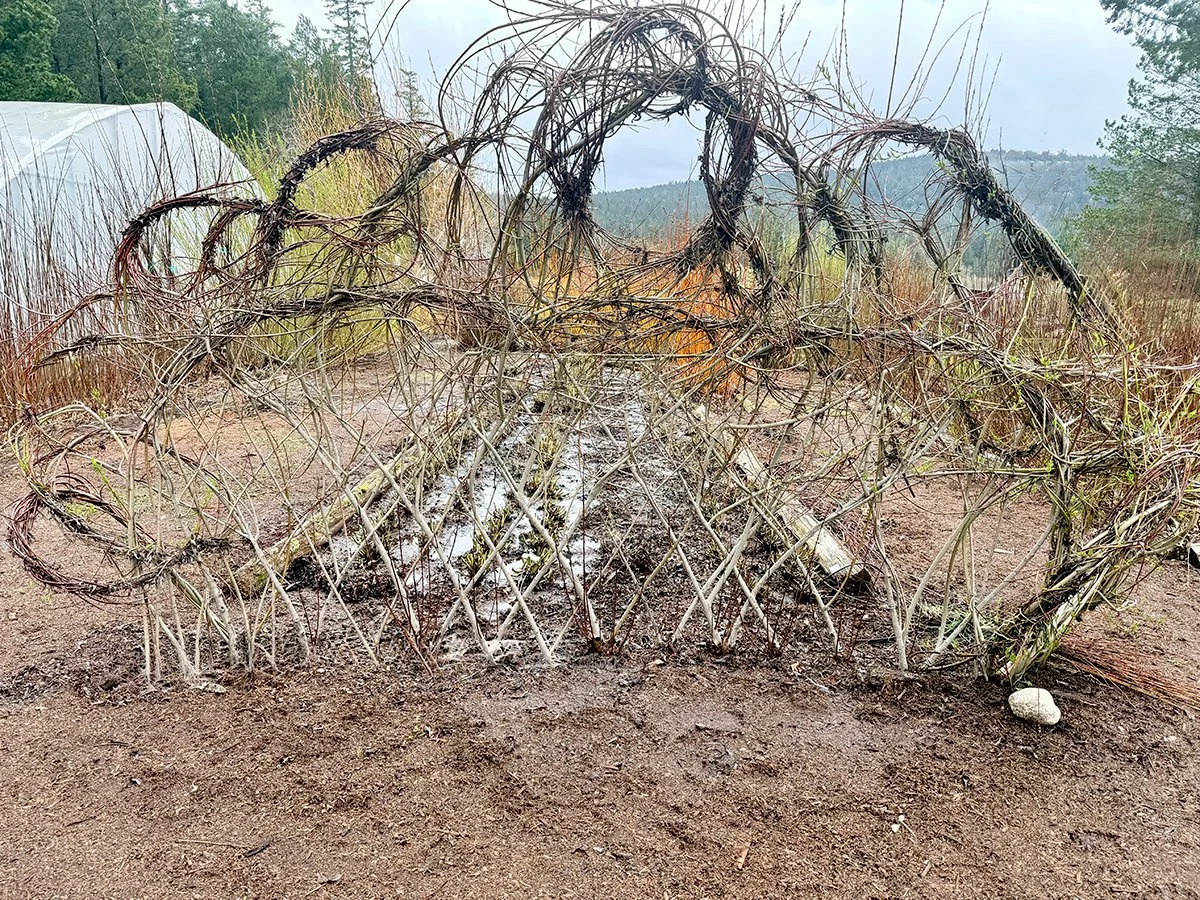
For my archway, I chose to combine living willow rods with dried rods, taking a more freestyle approach to the weave.
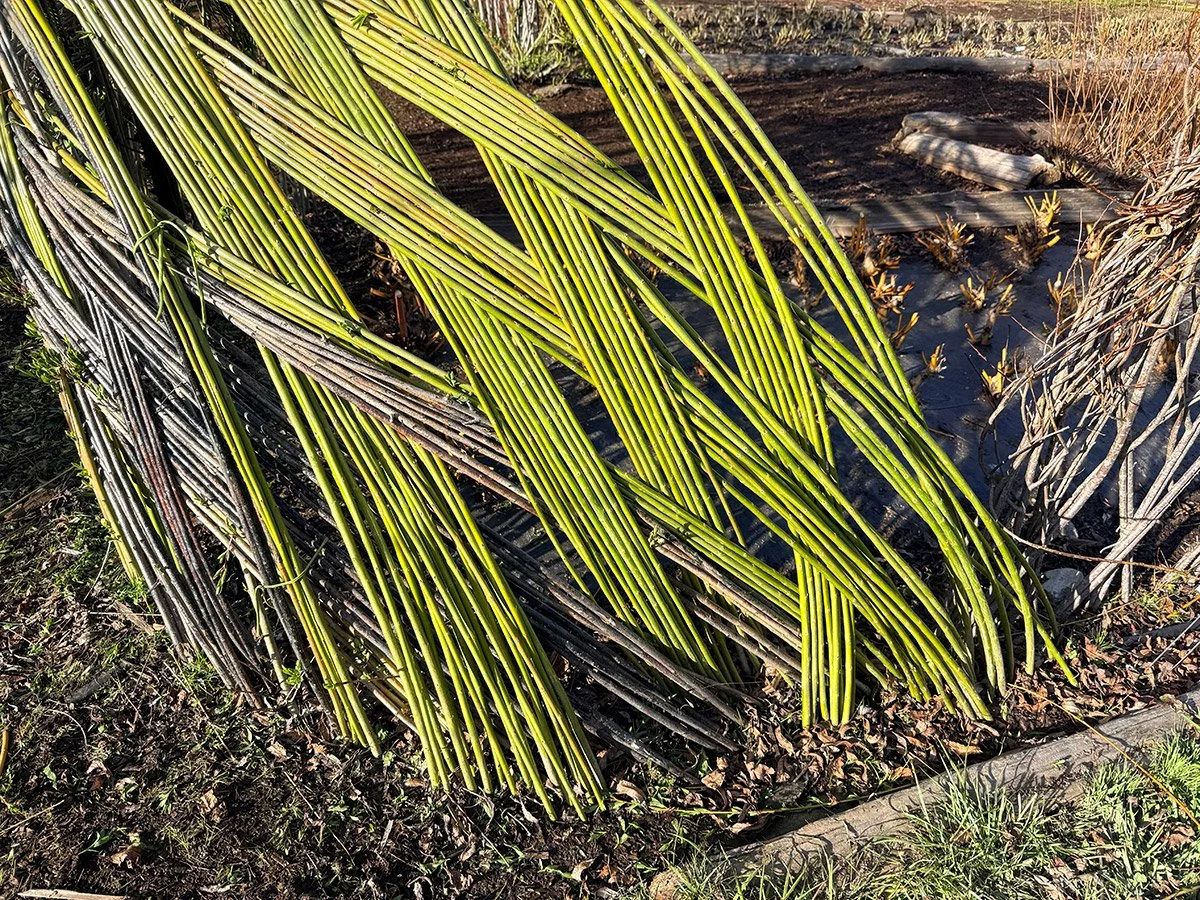
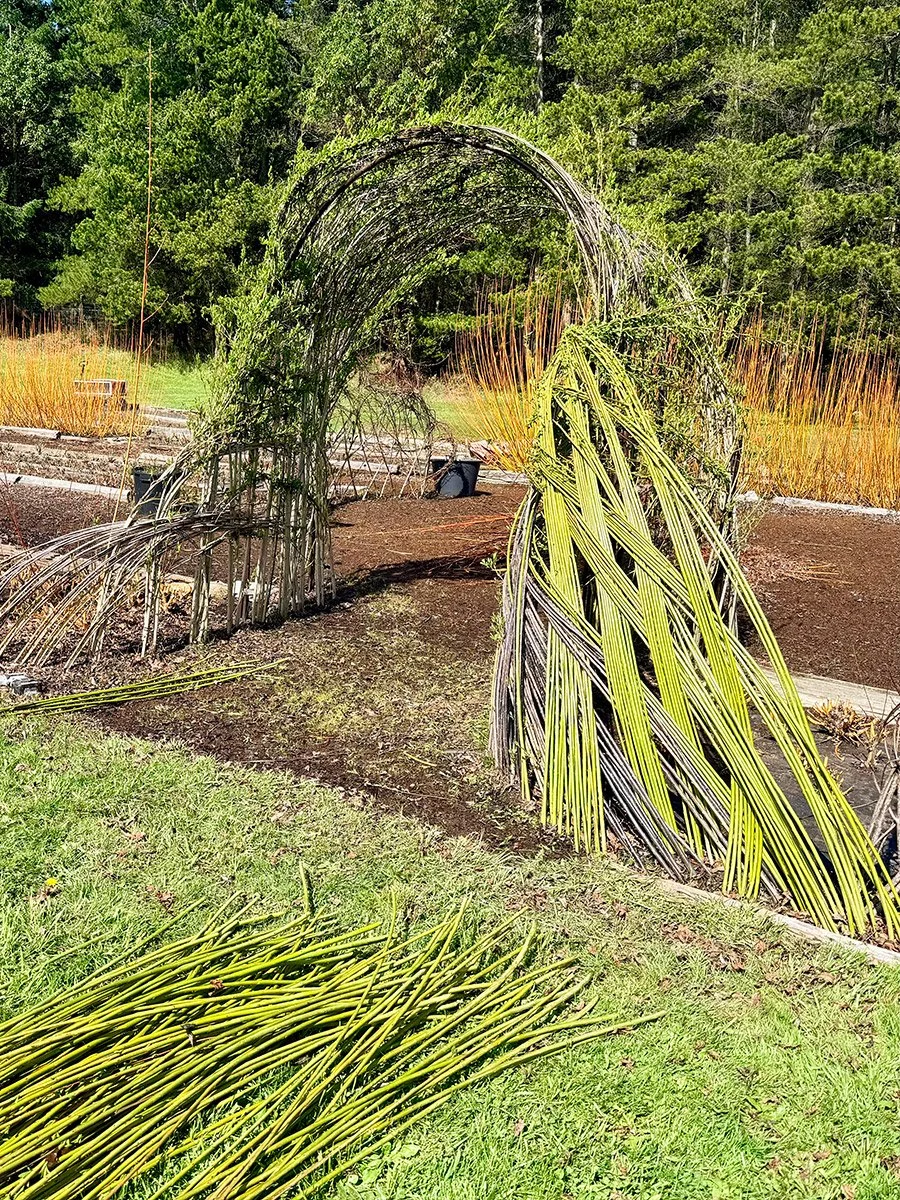
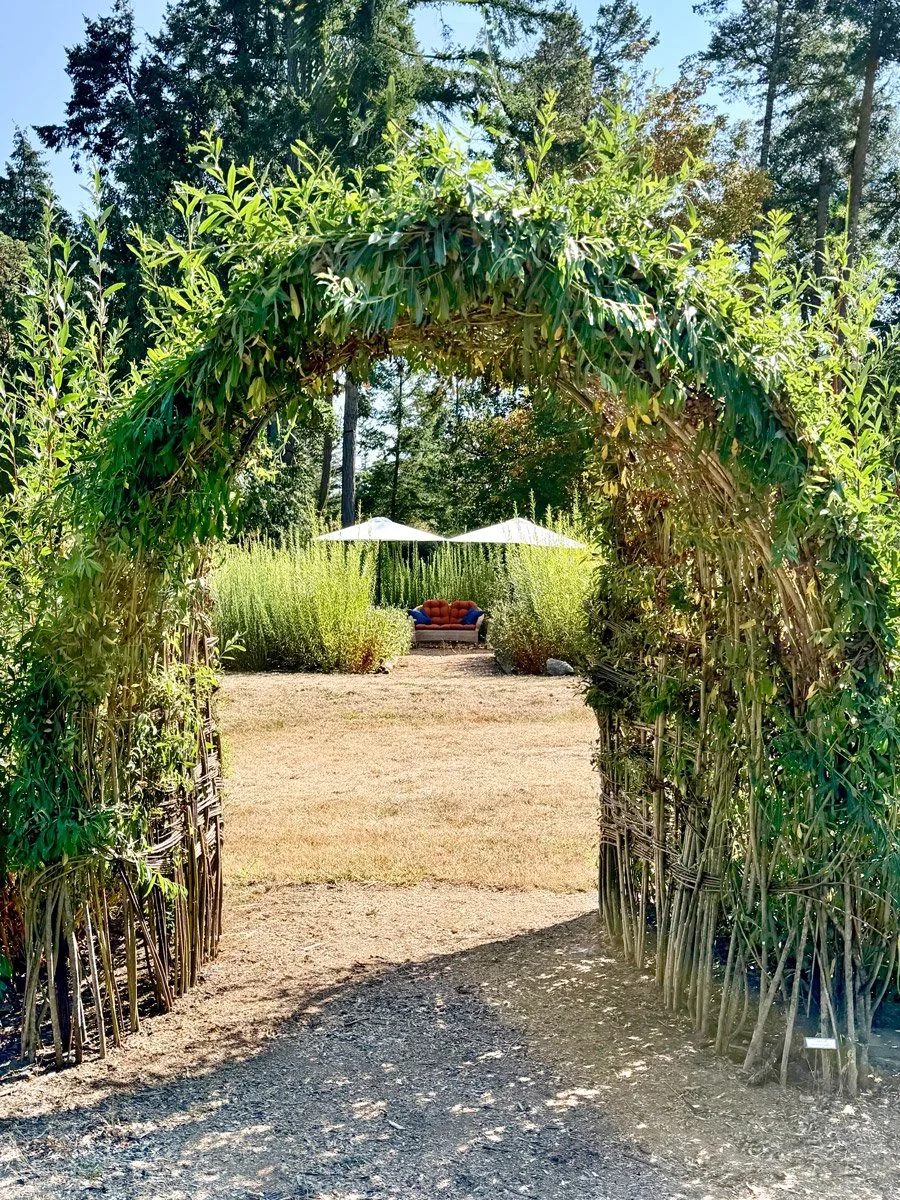
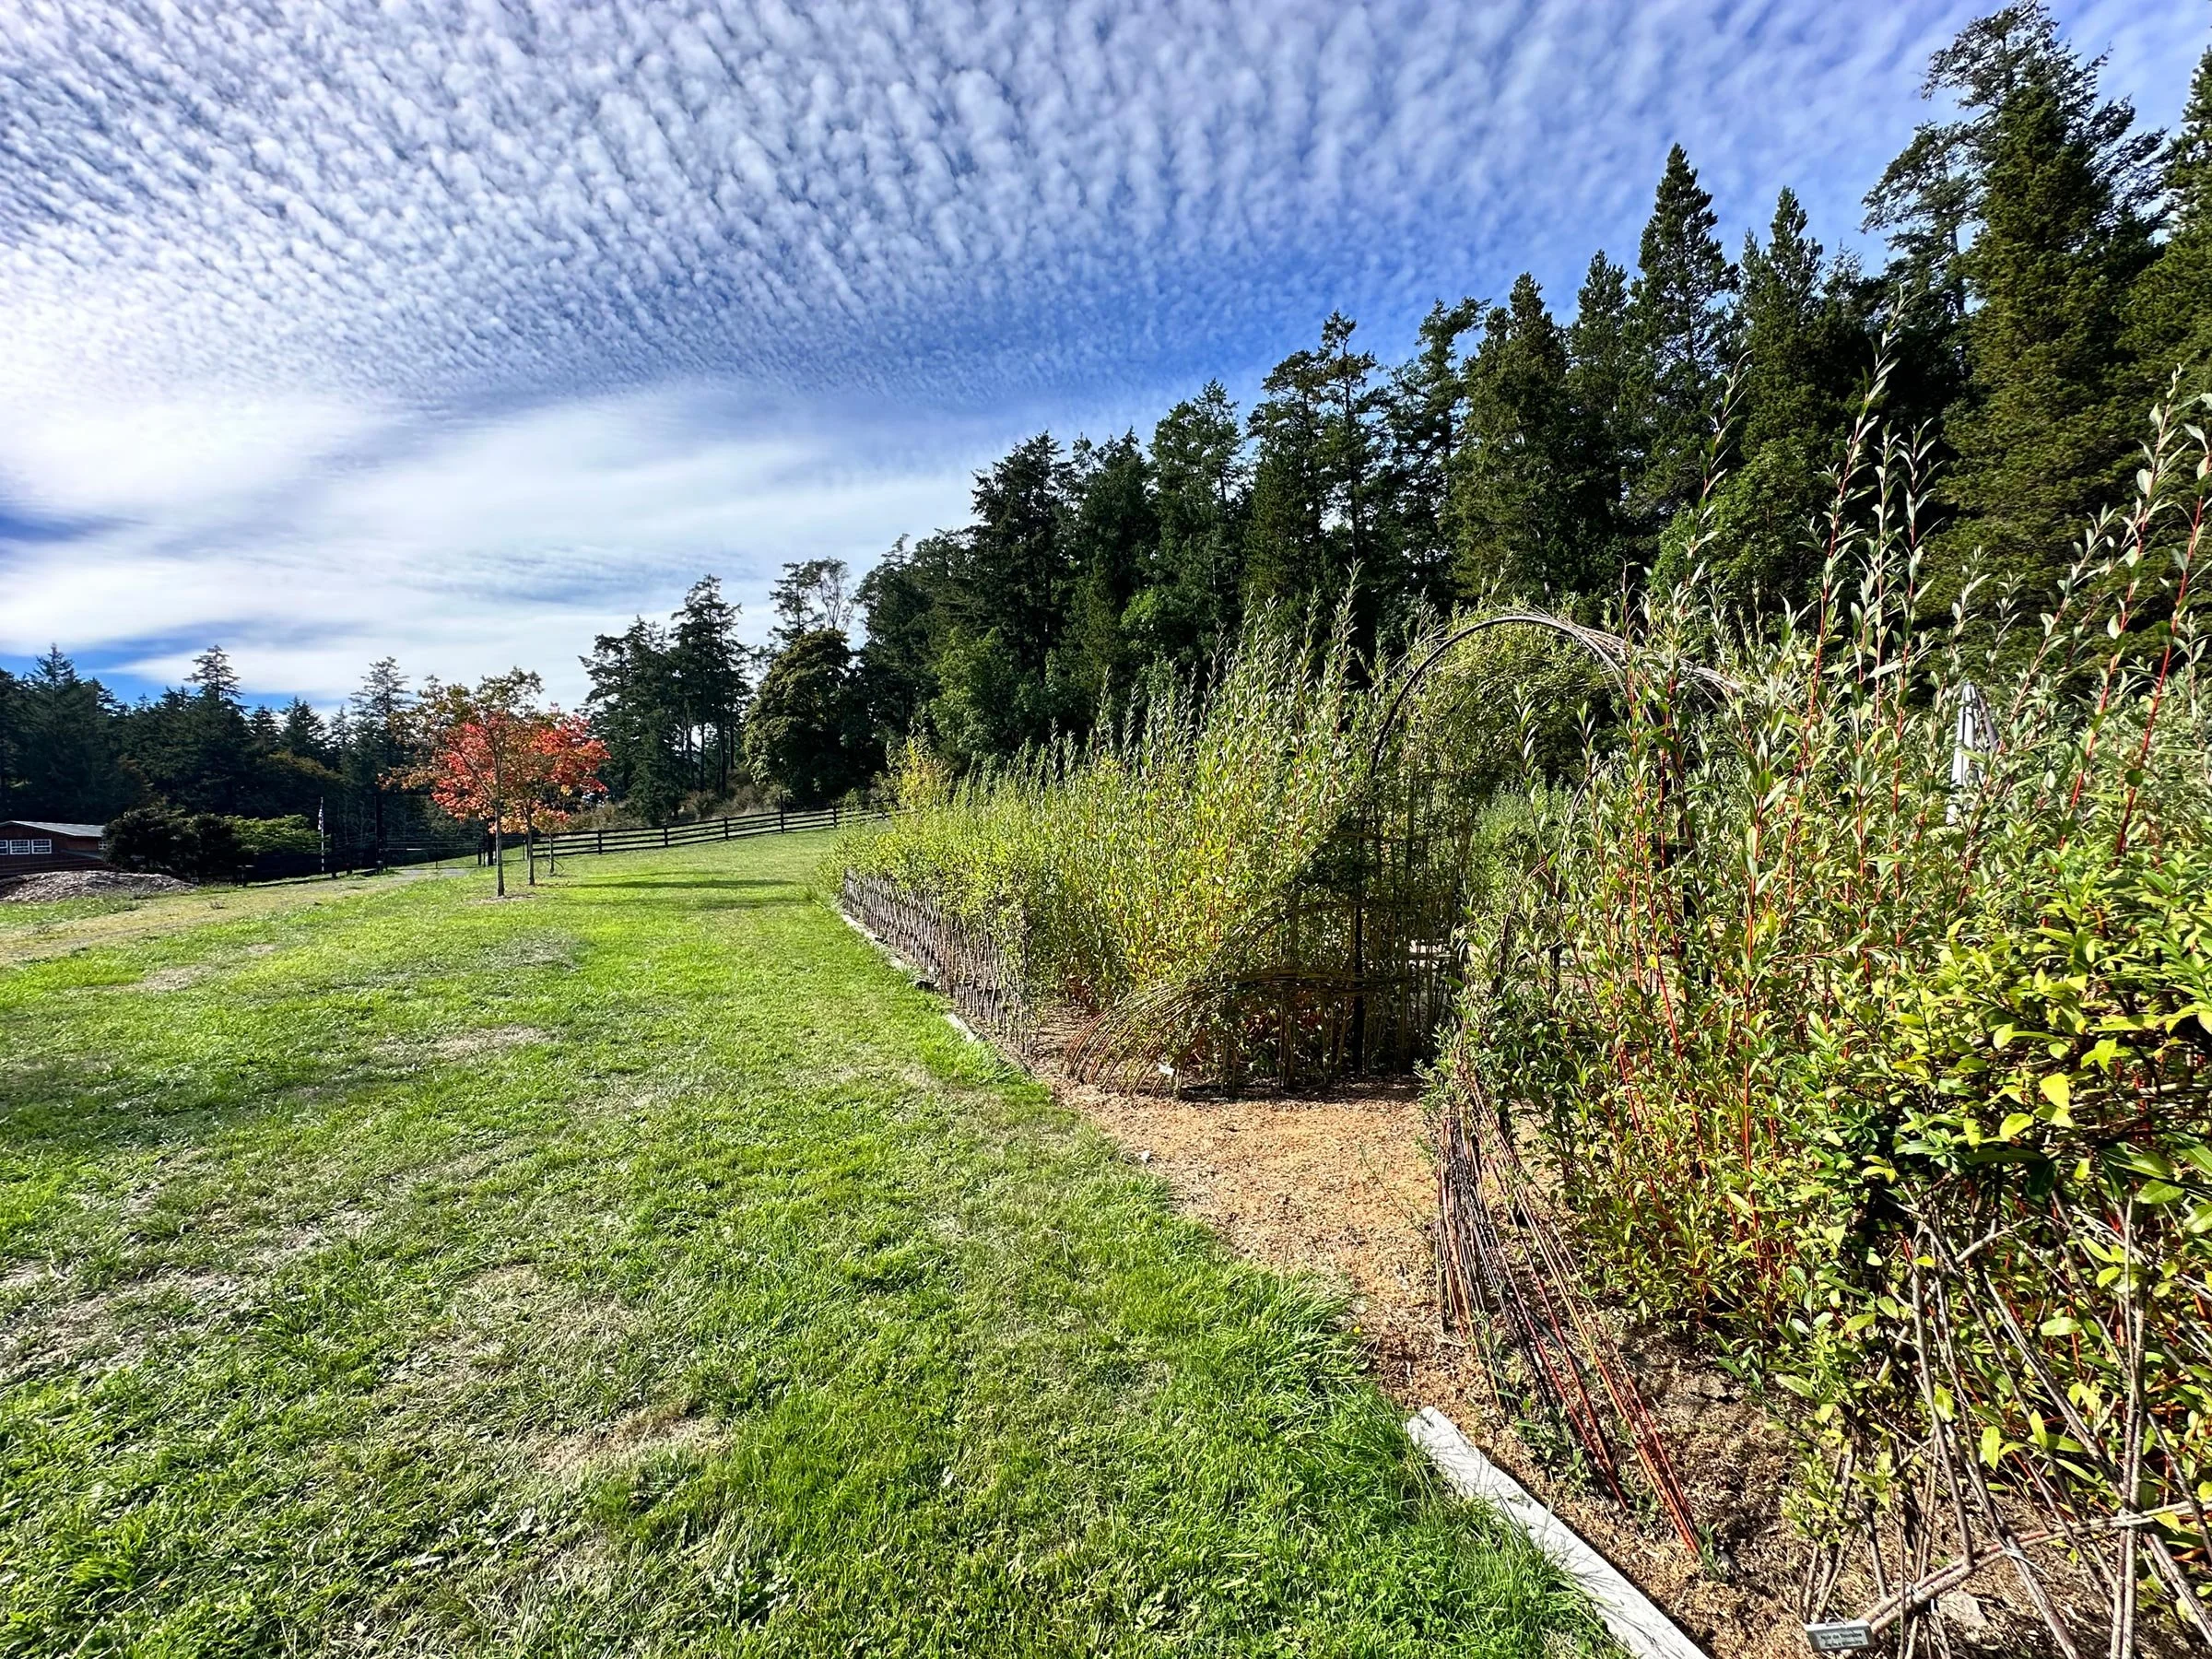
An archway is a wonderful opportunity to experiment with your own design while creating a significant and impactful experience in your garden. You can use the spacing guidelines above as a starting point and then adjust the number and placement of rods to create the shape and density you envision.
Use the provided calculations as a guide, then make the structure your own.
There is no single right way to create a living willow structure. Part of the beauty is watching your design change and develop as the willow takes root, leafs out, and continues to grow.
PREPARING YOUR PLANTING AREA
Before planting, clear away grass and weeds to give your willow rods the best opportunity to establish and grow. I recommend using a weed barrier to help keep competing vegetation under control, especially while your willow is establishing.
PREPARING THE PLANTING HOLES
I use a drill fitted with a long bit to make planting holes for my willow rods and even 12inch cuttings. I find this method easy and efficient. .
You can also create planting holes using a stack or piece of rebar driven into the ground with a hammer or mallet. For woven structure, I recommend angling the planting hole slightly in the direction of your planned weave. This helps position the rods for weaving and provides a stable base for the finished structure.
HOW DEEP SHOULD THE RODS BE PLANTED?
I typically plant willow rods 8–12 inches (20–30 cm) deep. This provides a good balance of stability and the favorable conditions needed for the rods to establish roots.
In wetter soils or loose, sandy ground, I recommend planting a little deeper— approximately 12–16 inches (30–40 cm)—to help anchor the rods securely.


For all inquiries or to start the order process, please complete and submit the following information.
There are two options for fulfillment:
Pickup at the farm.
or
Shipping: which needs to be quoted, based upon quantity.